GIMP2.10から新しく追加された「MyPaintブラシで描画」ツールの使い方をご紹介します。
MyPaint ブラシで描画は、多種多彩のブラシがGIMPでも使える便利なペイントプログラムです。
それではさっそく、「MyPaint ブラシで描画」の使い方を覚えてGIMPを使いこなしてみましょう。
MyPaint ブラシで描画とは
「MyPaint ブラシで描画![]() 」は、あらかじめ用意されたお絵描きペイントツール「MyPaint」の多種多彩なブラシを、GIMP2.10で使用できる便利なツールです。
」は、あらかじめ用意されたお絵描きペイントツール「MyPaint」の多種多彩なブラシを、GIMP2.10で使用できる便利なツールです。
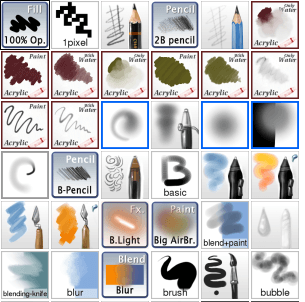
はじめから用意されているブラシは、鉛筆やマーカーなど100種類以上あります。
MyPaint ブラシで描画ツールの使用方法
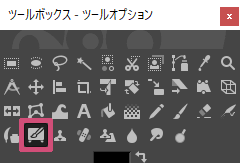
GIMPで「MyPaint Brush」ツールを使う場合は、以下の方法が用意されています。
- ツールボックスの「MyPaint ブラシで描画」アイコン

- メニューバーからツール描画ツールMyPaint ブラシで描画
- キーボード(ショートカットキー)Y
MyPaint ブラシで描画ツールの使い方
キャンバスを開いてツールボックスから「MyPaint ブラシで描画![]() 」ツールを選び、基本の操作をいっしょにしてみましょう。
」ツールを選び、基本の操作をいっしょにしてみましょう。
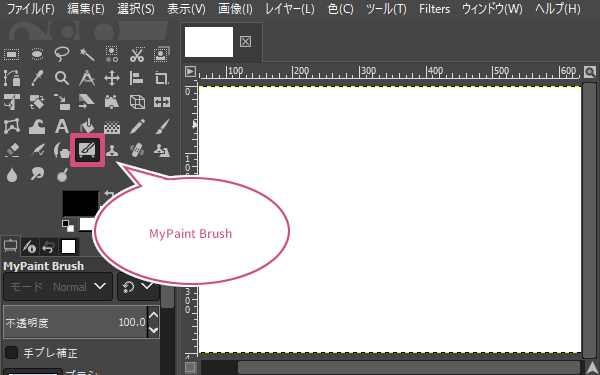
「MyPaint Brush![]() 」ツールを選んだら、ツールオプションのブラシアイコンをクリックしましょう。
」ツールを選んだら、ツールオプションのブラシアイコンをクリックしましょう。
クリックすると、用意されているブラシを選ぶことができます。あなたが使いたいブラシを選びましょう。
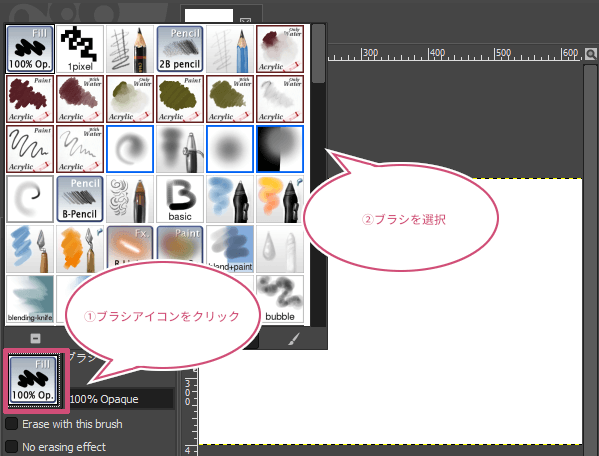
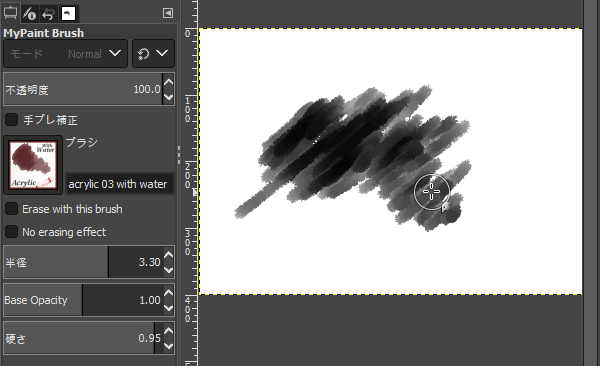
ブラシを選んだら、ブラシの半径や不透明度を設定してキャンバスに描画しましょう。
MyPaint ブラシで描画のツールオプション
GIMPの「MyPaint ブラシで描画」には以下のツールオプションが用意されています。
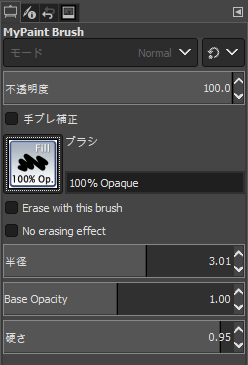
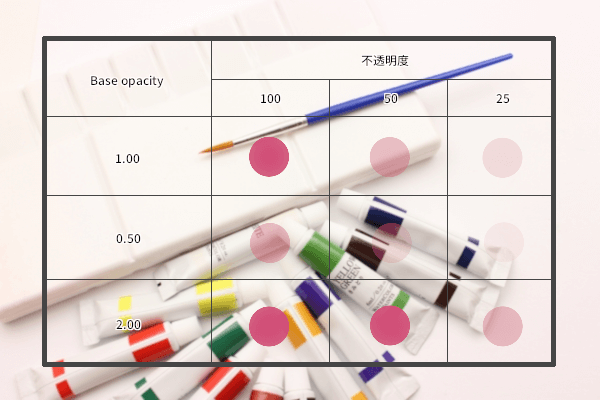
不透明度
「不透明度」では、ブラシの不透明度を設定することができます。
通常、数値が小さくなっていくほど透けていきますが、ツールオプションのBase opacityの設定で不透明度は変わります。詳しくはツールオプションの「Base opacity」をご覧ください。
手ブレ補正
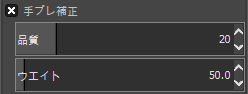
「手ブレ補正」では、チェックを入れることでストロークがスムーズになって、マウスやペンタブなどで描いた線のブレを抑えることができます。
このオプションでは、品質、ウエイトを調整することができます。
ブラシ
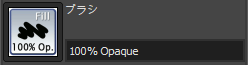
「ブラシ」では、アイコンをクリックすることで多種多彩なブラシを選択することができます。
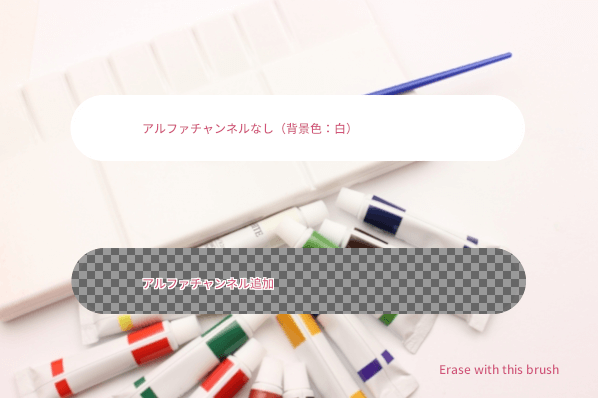
Erase with this brush
「Erase with this brush」にチェックを入れることで、ブラシが消しゴムとして機能することができます。アルファチャンネルを追加した画像では透明になり、アルファチャンネルが無い画像では背景色となります。
半径
「半径」では、ブラシの半径を設定することができます。
Base opacity
「Base opacity」では、ベースの不透明度(0.00~2.00)を設定することができます。たとえば、Base opacityを0.50、不透明度の設定を100にした場合、最大不透明度50になります。
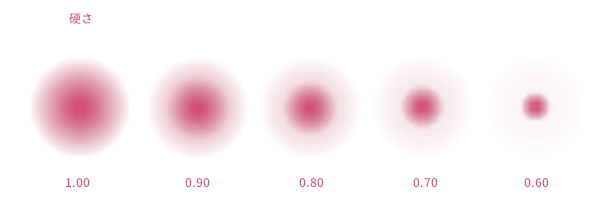
硬さ
「硬さ」では、数値を大きくするほどブラシは硬くなりシャープになります。
おわりに
GIMPの「MyPaint ブラシで描画」の使い方をご紹介しました。
「MyPaint ブラシで描画」ツールは、豊富なブラシから手軽にお絵かきができる便利なペイントツールですね。
GIMPはフォトレタッチソフトですが、今回からデフォルトで「MyPaint ブラシで描画」ツールを使用できるようになったことで、ペイントも楽しめるようになりました。ぜひ試してみてくださいね。